So, recently I was exploring options for quickly spinning up an authentication system for a NextJs environment, where I stumbled upon next-auth.
Spinning it up ‘quickly’ is important, because I intend to use this framework mostly for the MVP stages of a project, and I don’t want to spend too much time configuring it.
I have to admit, understanding it at first was not so easy, because authentication necessarily brings along with it a lot of different parts. Luckily, resources like these and these helped.
In this how-to guide, I am going to take you through how to set up this auth system, assuming that you already have a somewhat ready Next app and is ready to add some authentication to it.
Installation and initial Set up
Step 1:
Run npm install next-auth @next-auth/mongodb-adapter mongodb
Step 2:
Create the route file in the following directory: pages/api/auth/[...nextauth].js.
Defining the providers you want to use
Step 3:
Add the following code to the [...nextauth].js file
| |
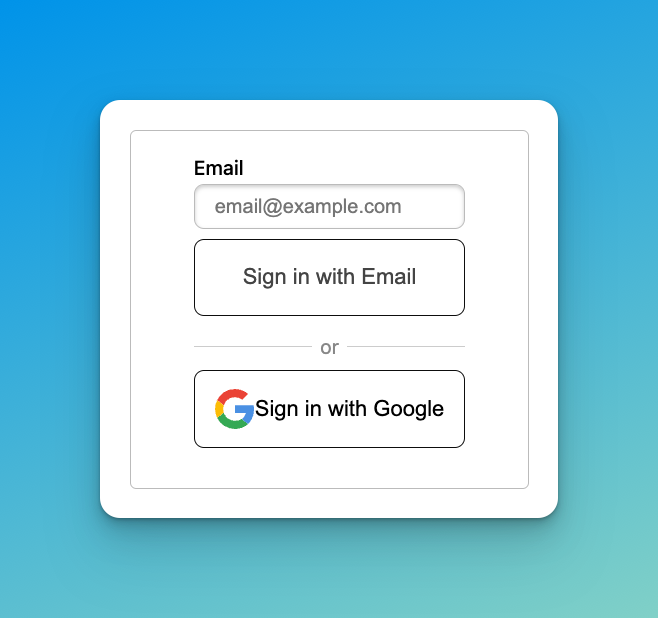
This will allow us to use the EmailProvider and GoogleProviders to authenticate. Providers1 are essentially services that we use to sign in. When we add the providers in this file, they will also automatically be rendered on the frontend in the api/auth/signin page via the NextAuth.js REST API, like so:
Step 4:
Go to your app root _app.tsx and add <SessionProvider>.
| |
This will allow us to use the useSession() hook throughout the app. This hook is important for checking for user login state against session storage, at various places within the app.
Creating a login button
Step 5:
Create a sign in button component, at wherever you want to display it:
| |
The above is a simple architecture that will use the useSession() hook to check for the presence of values in the data field of the returned object. session will be assigned to the value of the data field, which is of type Session.
For reference, here’s the definition of useSession(), and the Session object:
| |
Thus, if we want to access the email of the logged user via the returned session data (like above), we use: session.user.email.
Step 6:
Render the login button at any place of your choosing within the app. Once you click on it, it’ll bring you to the api/auth/signup route, which will display the various providers you have.
Defining your .env variables
Step 7:
Go to .env, and input the following:
| |
If you want to use any other providers, you’ll need to supply the other information.
Do note: if you’re using gmail as your provider, you will need to provide an App password. This means that first, your account needs to have 2FA enabled, and then go to Security of your Google account instructions. Create a new App password for your email. If you don’t do this, you’ll have problems sending emails using email provider.
(The main idea of email provider is that it’ll send a ‘magic link’ using the admin email above, and the user will be able to click on it to sign in.)
The MONGODB_URI is the one you use for connecting to your DB. Here, I am using my local mongodb version. If you’re using Mongo Atlas, you’ll need to change the URI accordingly.
Configuring your Mongodb adaptor
Step 8:
Create a file at lib/mongodb.ts
Step 9:
Add the following code:
| |
Step 10:
Add the Adapter to your Next-auth config object […nextauth].js
| |
And that is about it! You should be able to do the following:
- Clicking on the login button at the place you render it
- It’ll take you to the default sign in page, where using the email provider, you’ll be able to get a magic link to sign in.
(Optional) Setting up Google Sign in
Step 10:
Within the .env file, you’ll need to input your GOOGLE_ID and GOOGLE_SECRET. These are created from the Google Cloud Console API credentials. If you haven’t set them up, follow the steps here.
This will enable you to sign in via the classic Google Oauth.
(Optional) Having your own Signin page
If you want to create sign in pages of your own style, add the following in [...nextauth].js
| |
Be sure to create the actual signIn.ts page in pages/auth/signIn.ts. The URI api/auth/signIn will direct to this page instead of the default page.
Conclusion
You will now be able to spin up a working authentication system for your app, within 30mins. It’s quite a bit of things to wrap your head around, but as with all good frameworks, once you get over the initial learning curve, it’s incredibly easy to set up and get going.
The really powerful thing about using Oauth and these providers, is that you’ll be able to access three preconfigured tables within your DB: Users, Sessions, Verification_tokens. It really abstracts away the need for you to worry about creating models and storing any of these in your DB, whilst at the same time actually storing and being able to query these data.
NextAuth has pretty good documentation for the three types of providers, giving us insight into what goes on beneath the hood for all of them. The 3 main types are: OAuth, email, and credentials (your run of the mill
usernameandpasswordsign in). ↩︎